Homemade (sort of) fiberglass bow
I was given a fiberglass bow-in-the-making and decided to show you guys how the assembly went. The only thing I know of it’s origin, really, is that it came from someone in Slovenia. It took me a few months to get it together and shooting since I was just doing it here and there.
The bow riser is made of cast aluminum and the three limbs I got are a fiberglass and resin composite, though I’m not sure of any details beyond that. Here’s a picture of how the limbs looked early on, although I did some sanding on them already:
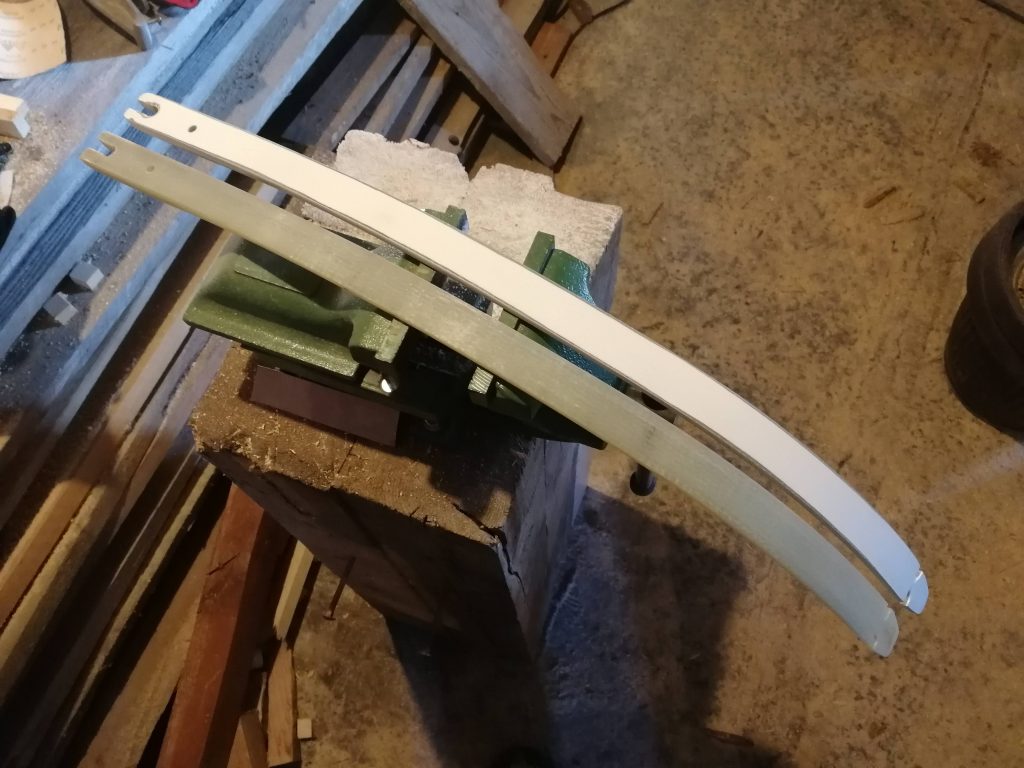
I don’t have many images of the initial state of everything unfotunately, I’m sorry I can’t show you the details. I believe I had more, but can’t find them for the life of me.
The holes in the riser for the limbs weren’t tapped and the limbs themselves were all different draw weights, so the first thing I did was to tap some threads into the riser and find appropriate screws. As it usually is, the correctly sized smaller ones ended up being mismatched!
I may find some other screws, some day, maybe…
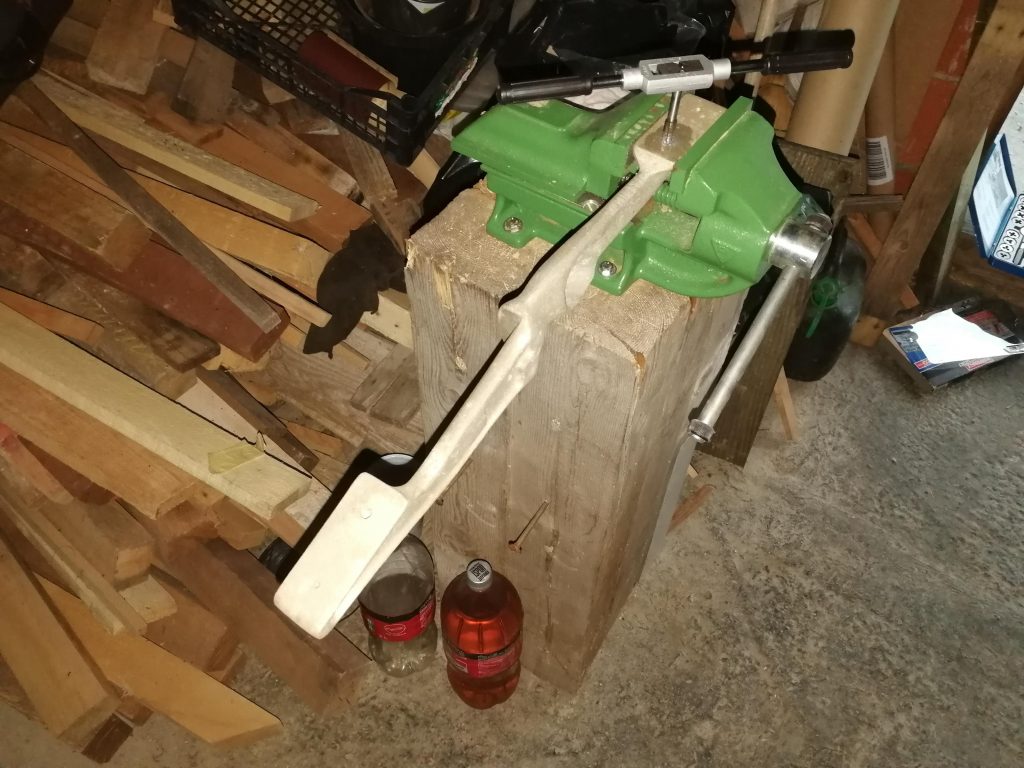
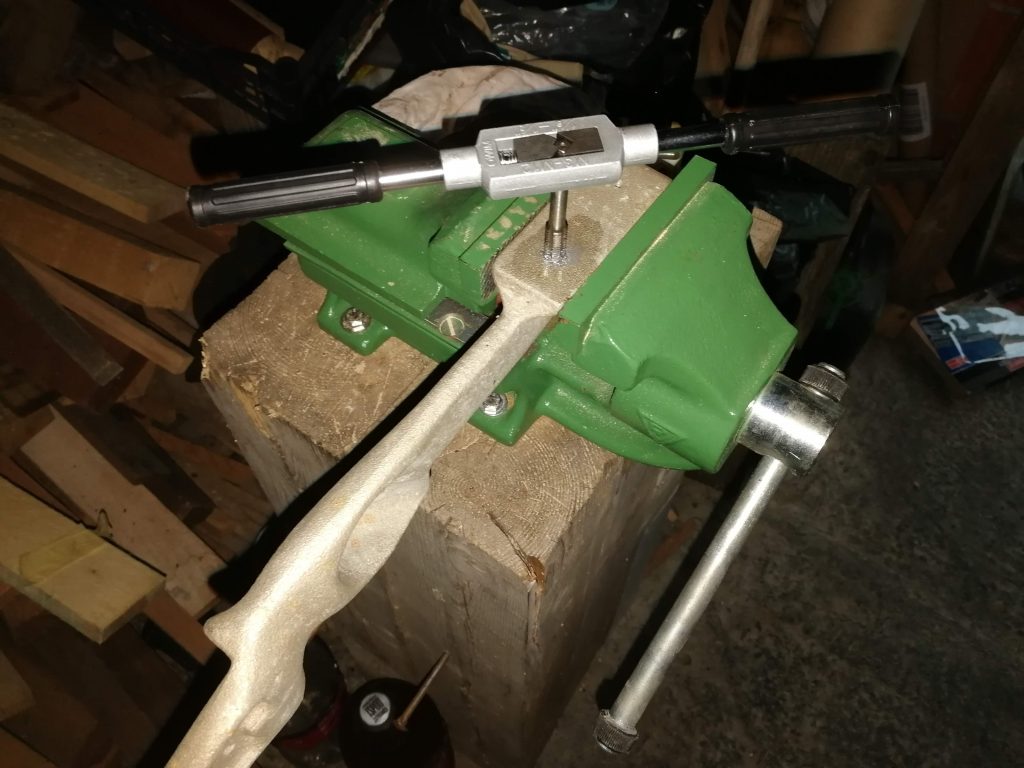
Next came the limbs. One of the them was fairly weaker than the other two so I decided to use the stronger pair. However, they still needed some sanding to get to roughly the same strength and tiller.
Here you can see the sanded limbs mounted on the riser:
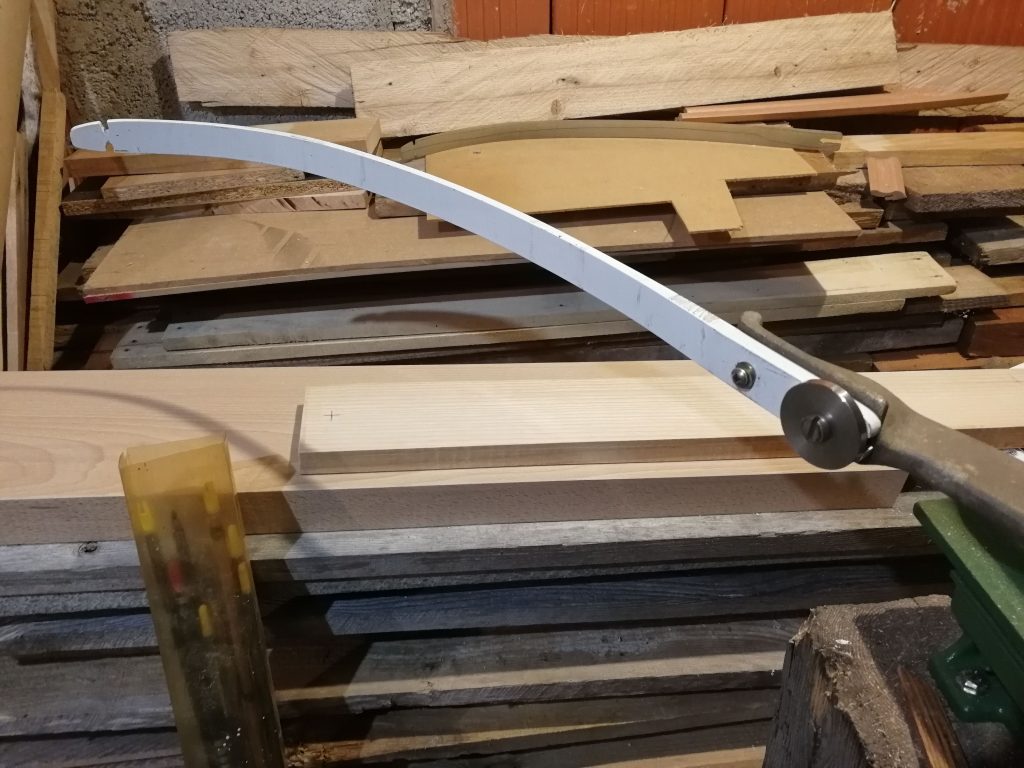
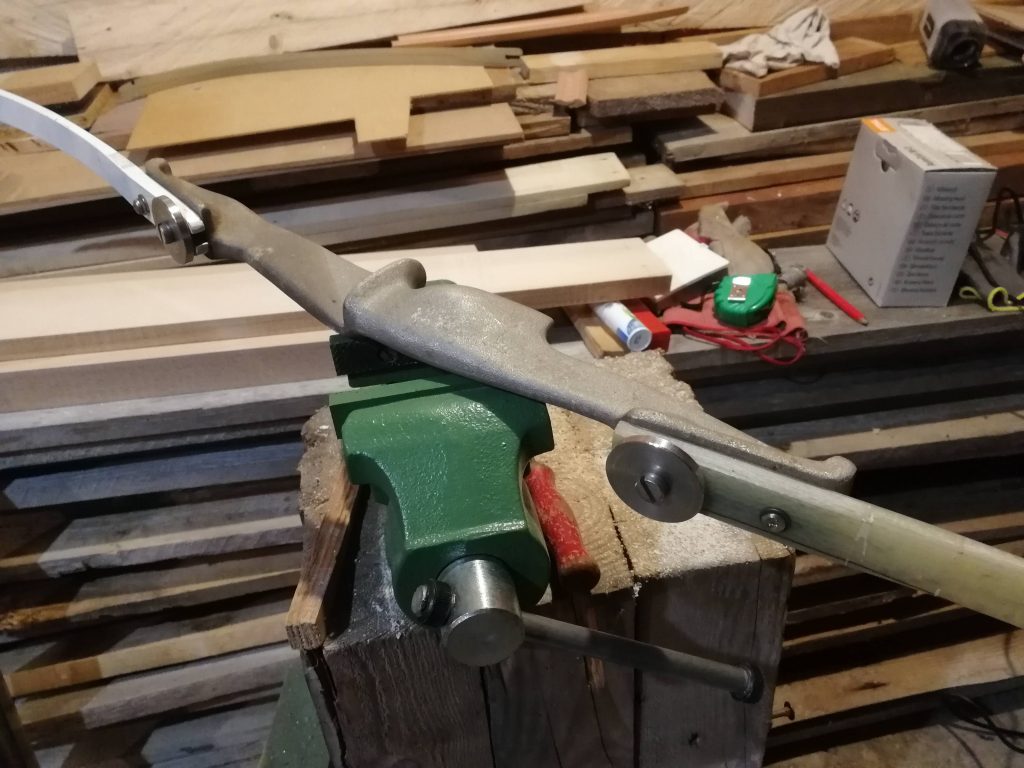
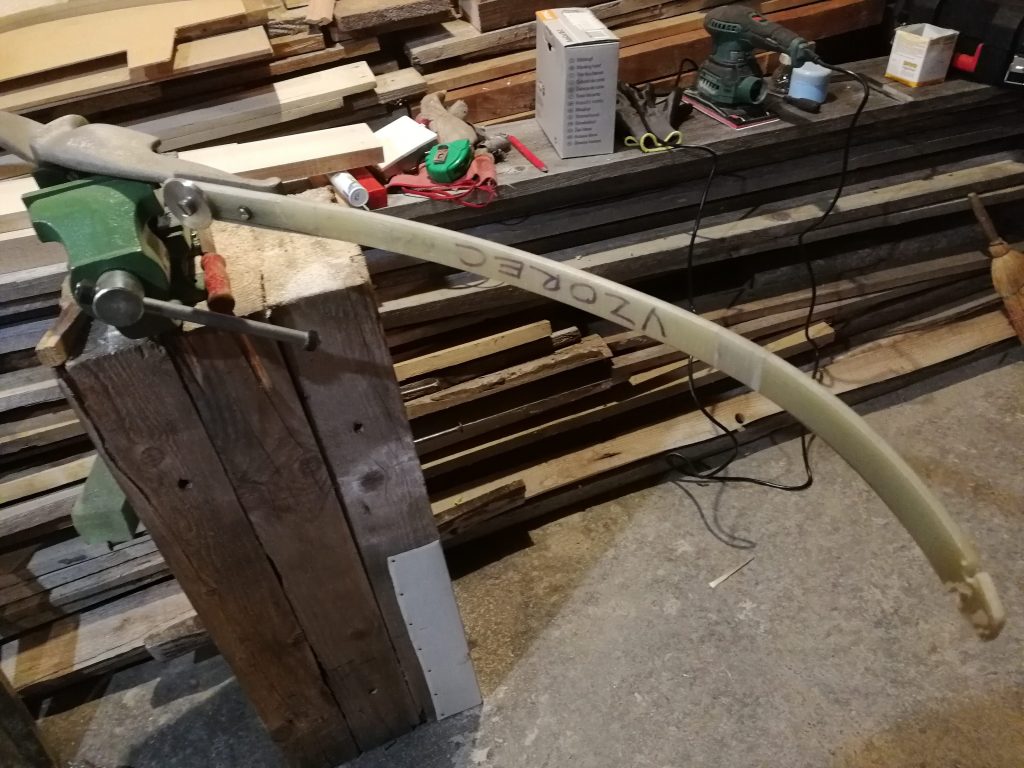
To avoid any possible damage or delamination, I’ve only sanded the belly of the bow – the side of the limbs that faces the shooter when holding up the bow as if shooting.
I mounted the larger bolts with some extra-thick oversized washers I had picked up who-knows-where (and they seems to be machined from stainless steel rather than the usual punched out ones – very cool). This gives it a nice look, in my opinion, and helps distribute the force very evenly to the bottom of the limb. I felt that just the small screw head might rip through the hole with the large amount of levered force on that small area.
The next step was to make the bow look a bit nicer, so I took some spray paint and painted the limbs black.
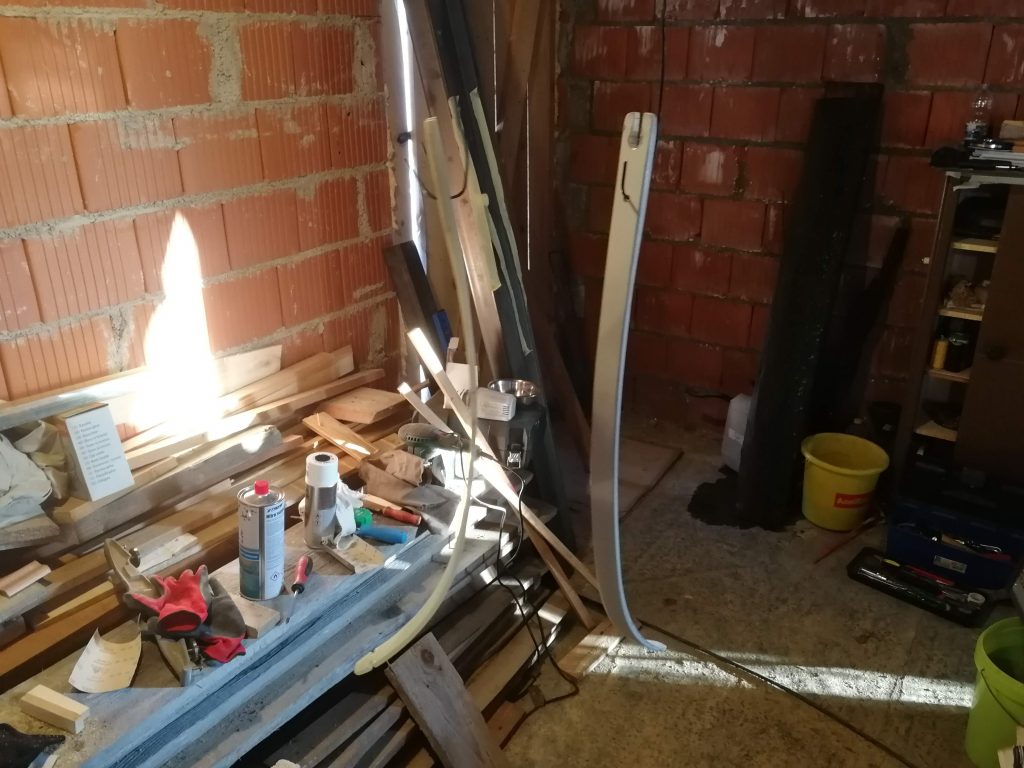
I think the riser looks good as it is, so I’ve left it in the matte silver of the cast aluminum.
Here is the finished bow put together:
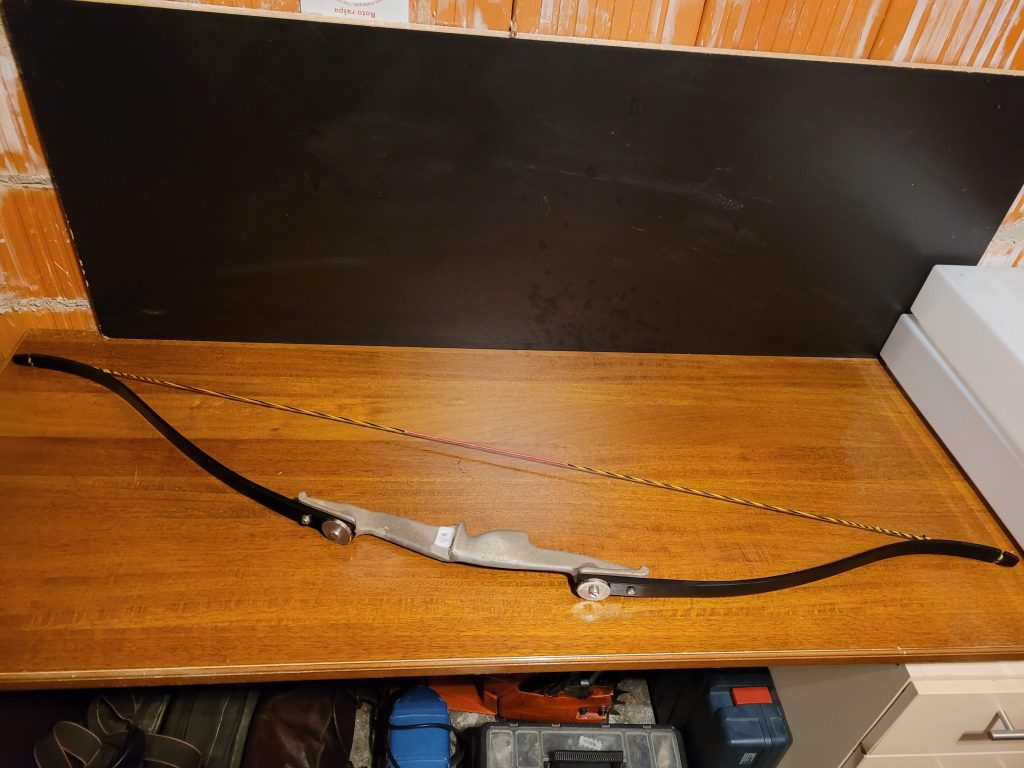
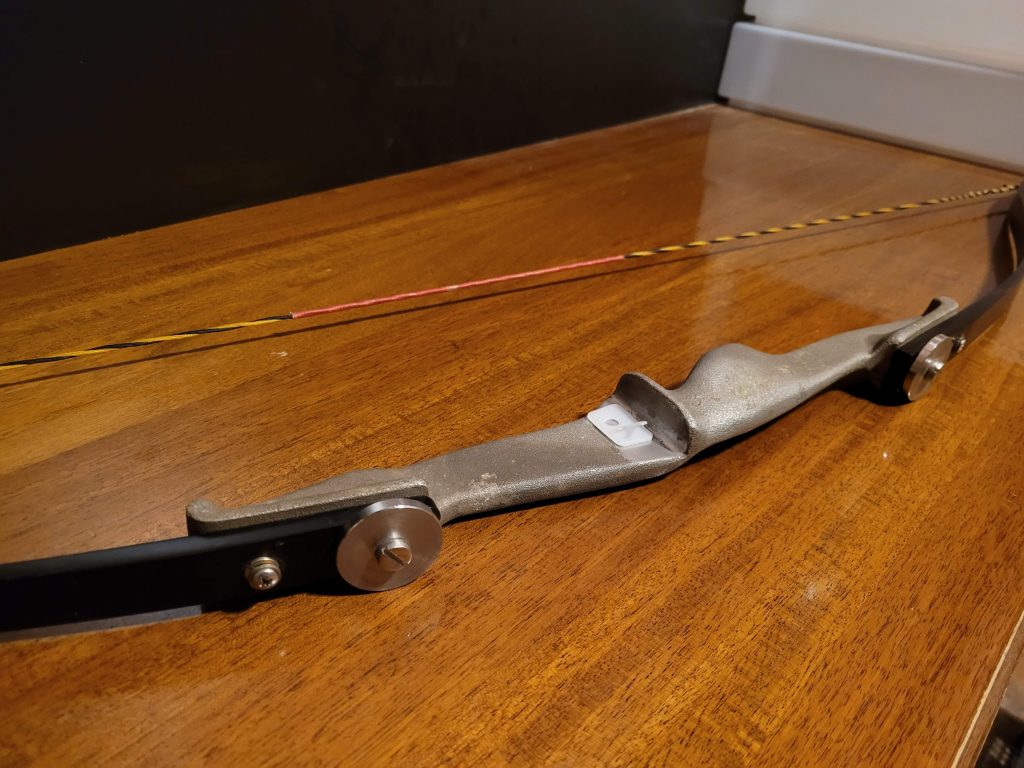
I’ve also added a stick-on arrow rest, because I don’t have any arrows with feather fletching, so I can’t shoot off the shelf.
The bow pulls about 21kg or 46lbs at 30” (which is my draw lenght) and I’ve bought 6 fairly cheap 30” aluminum arrows to try out, and I also have a mismatched wooden one that I got with the bow parts:
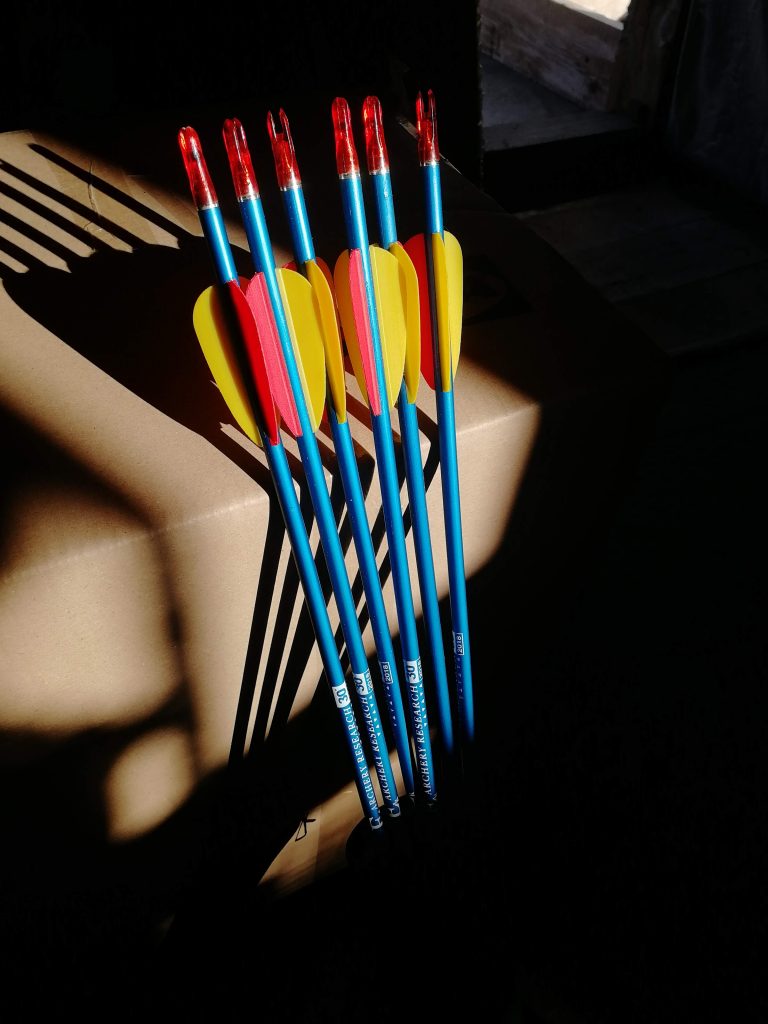
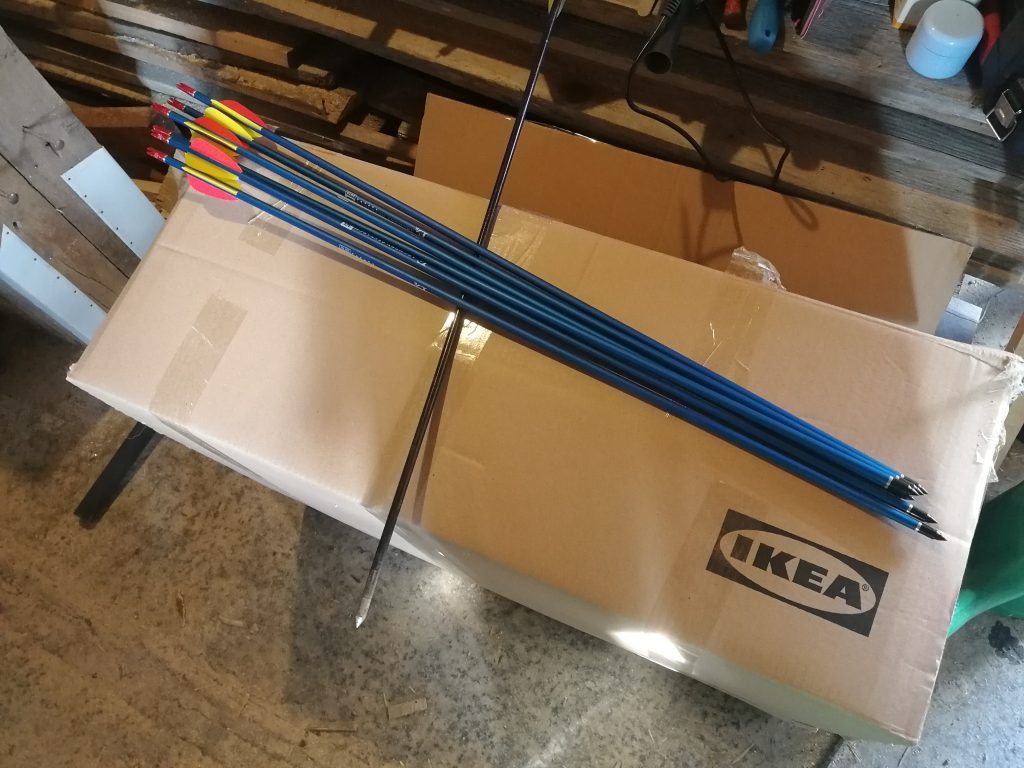
Here are all the arrows and a target made from a cardboard box and a bunch more cardboard stuffed inside:
And here is my first group with the bow (and first ever group with any bow actually – first time shooting!) at 15 meters, or about 50 feet:
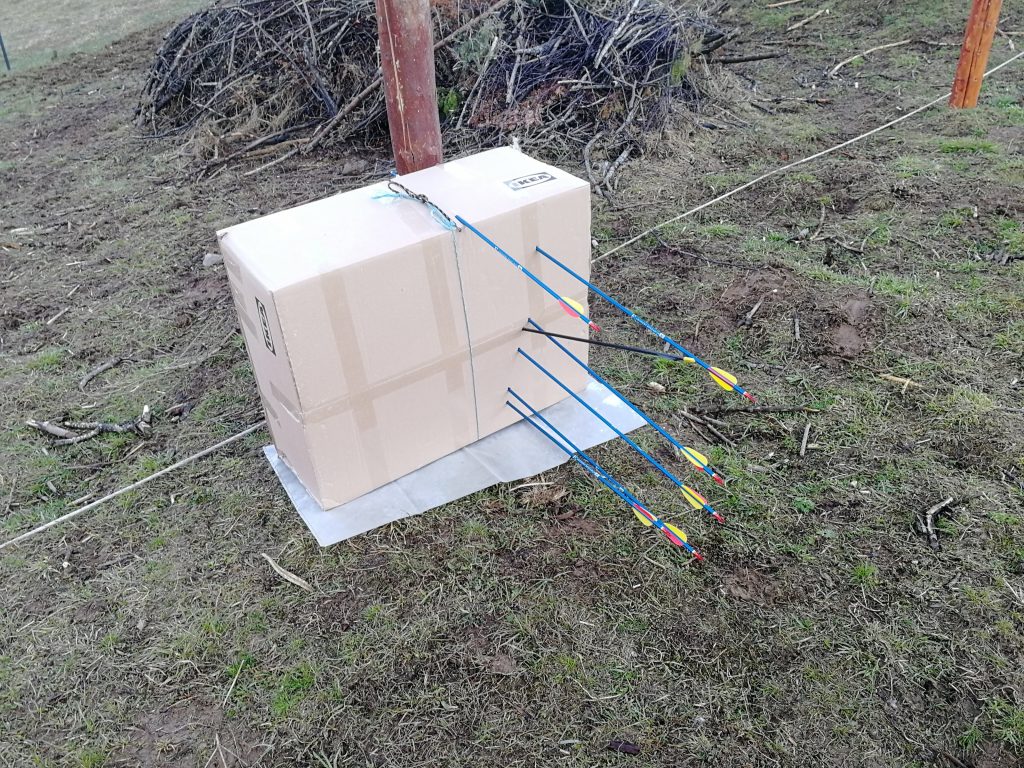
The bow is actually a bit too strong for me, I strain somewhat to keep it at full draw. But all in all, I’m super happy with that!
Hopefully, I will get better with some time and practice.
I hope you enjoyed reading, see you for the next one.
