CroBows

The first Croatian bowmaking website

Homemade (sort of) fiberglass bow

I was given a fiberglass bow-in-the-making and decided to show you guys how the assembly went. The only thing I know of it’s origin, really, is that it came from someone in Slovenia. It took me a few months to get it together and shooting since I was just doing it here and there.

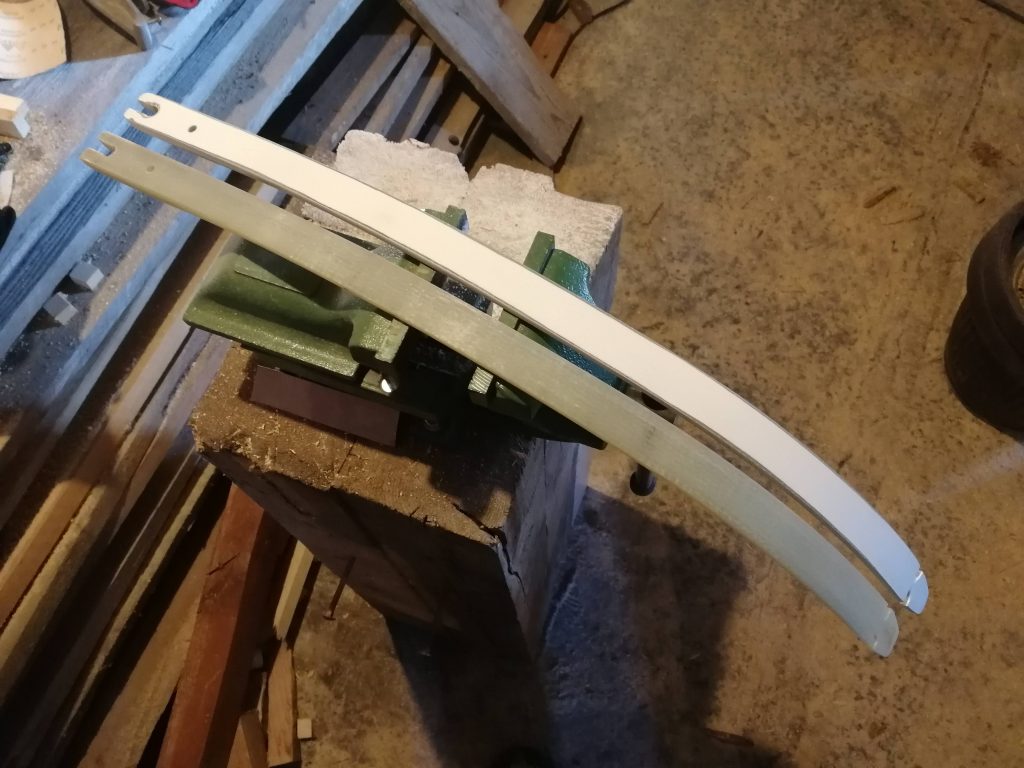
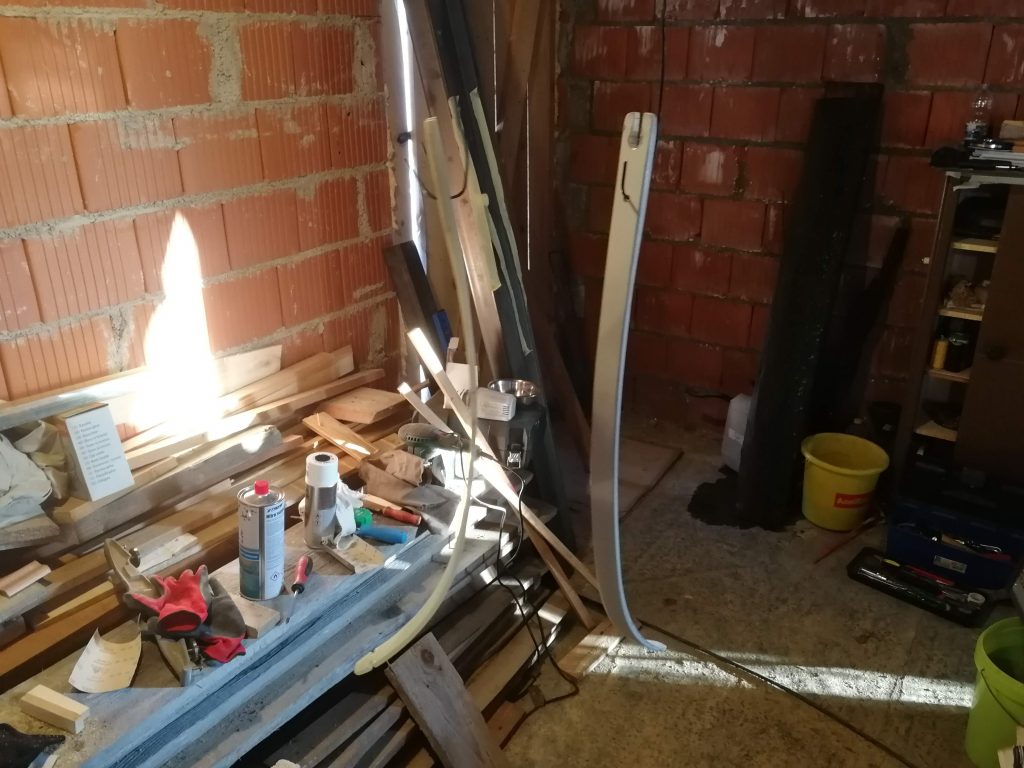
The bow riser is made of cast aluminum and the three limbs I got are a fiberglass and resin composite, though I’m not sure of any details beyond that. Here’s a picture of how the limbs looked early on, although I did some sanding on them already:

I don’t have many images of the initial state of everything unfotunately, I’m sorry I can’t show you the details. I believe I had more, but can’t find them for the life of me.

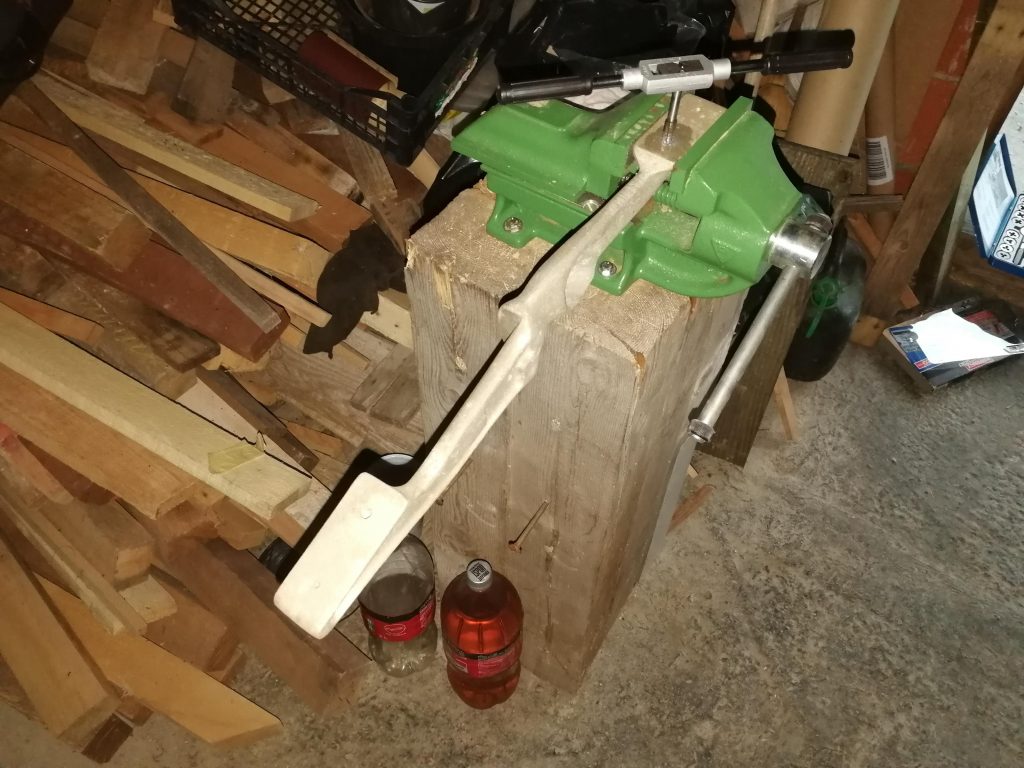
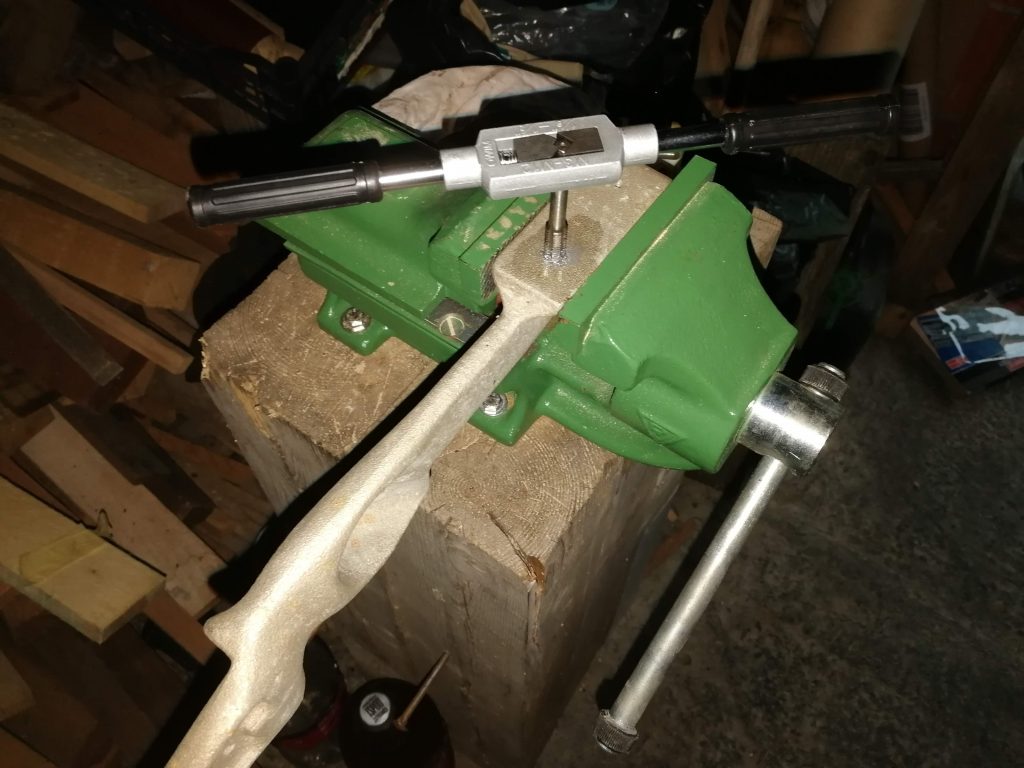
The holes in the riser for the limbs weren’t tapped and the limbs themselves were all different draw weights, so the first thing I did was to tap some threads into the riser and find appropriate screws. As it usually is, the correctly sized smaller ones ended up being mismatched!

I may find some other screws, some day, maybe…

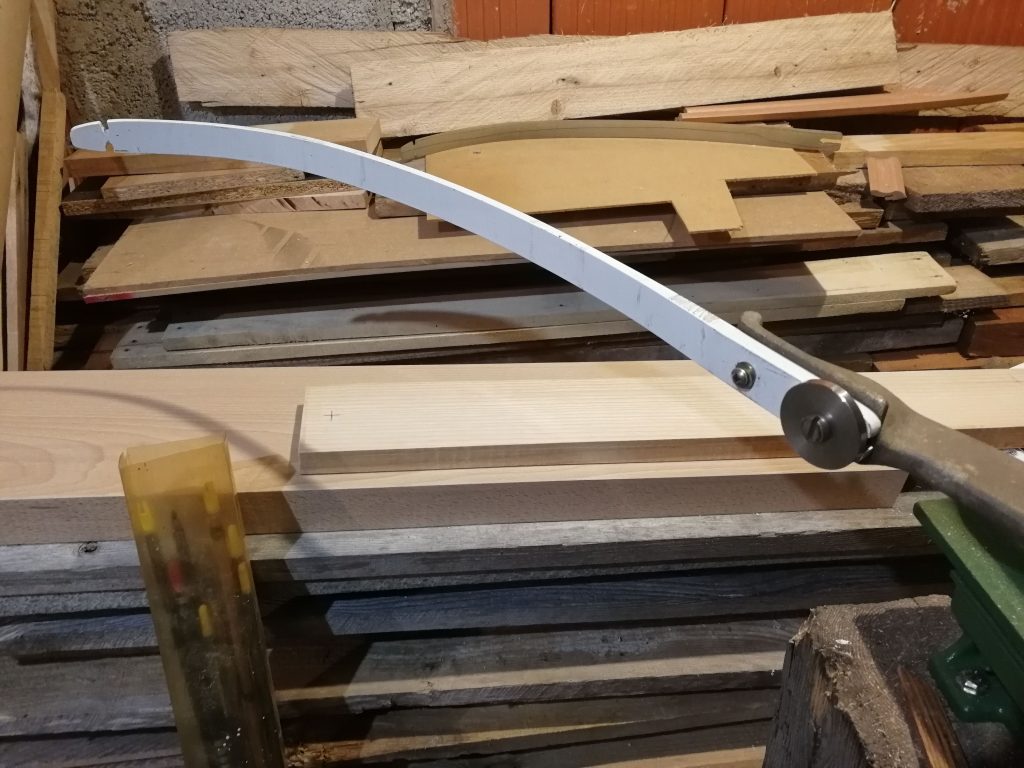
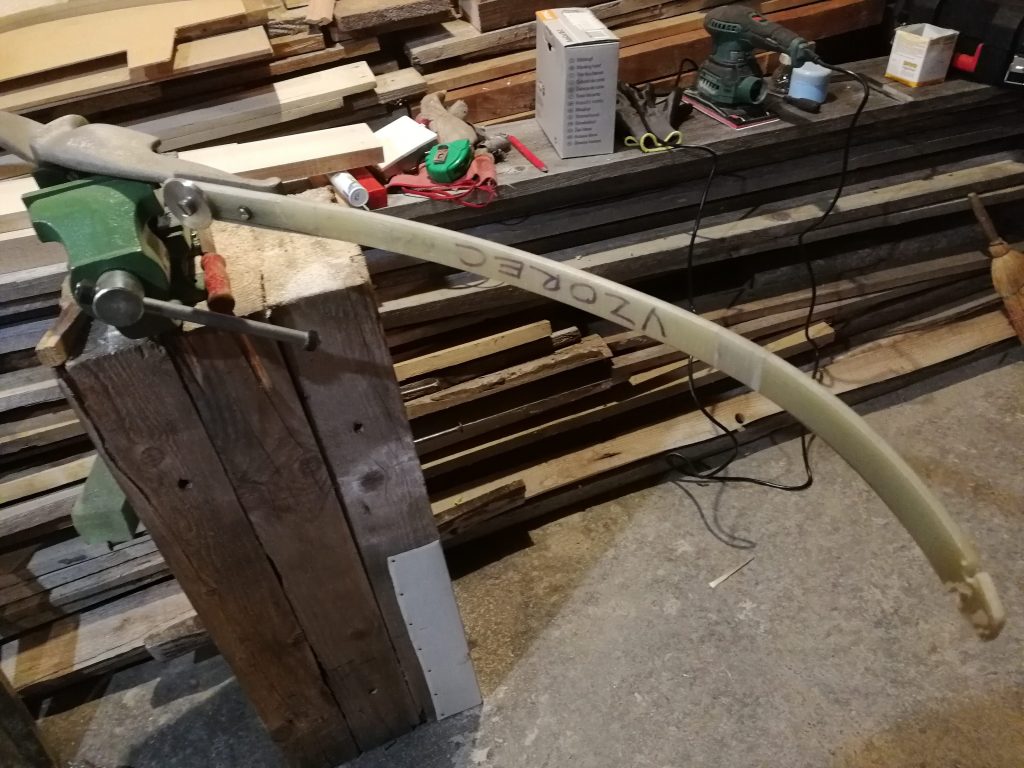
Next came the limbs. One of the them was fairly weaker than the other two so I decided to use the stronger pair. However, they still needed some sanding to get to roughly the same strength and tiller.

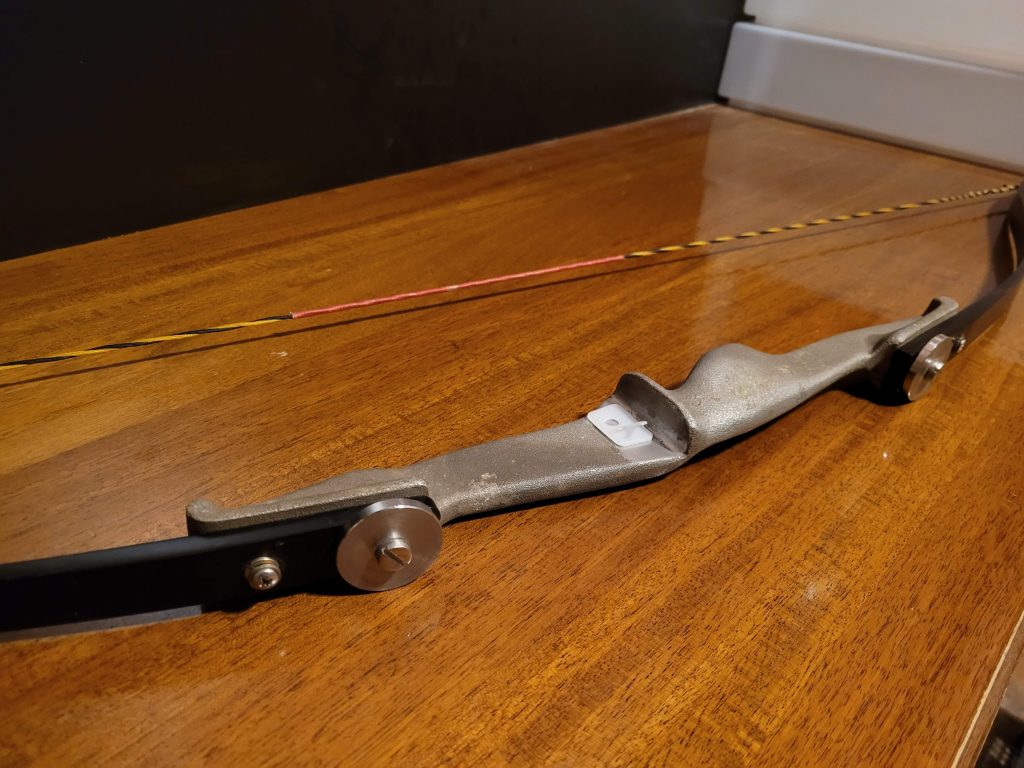
Here you can see the sanded limbs mounted on the riser:

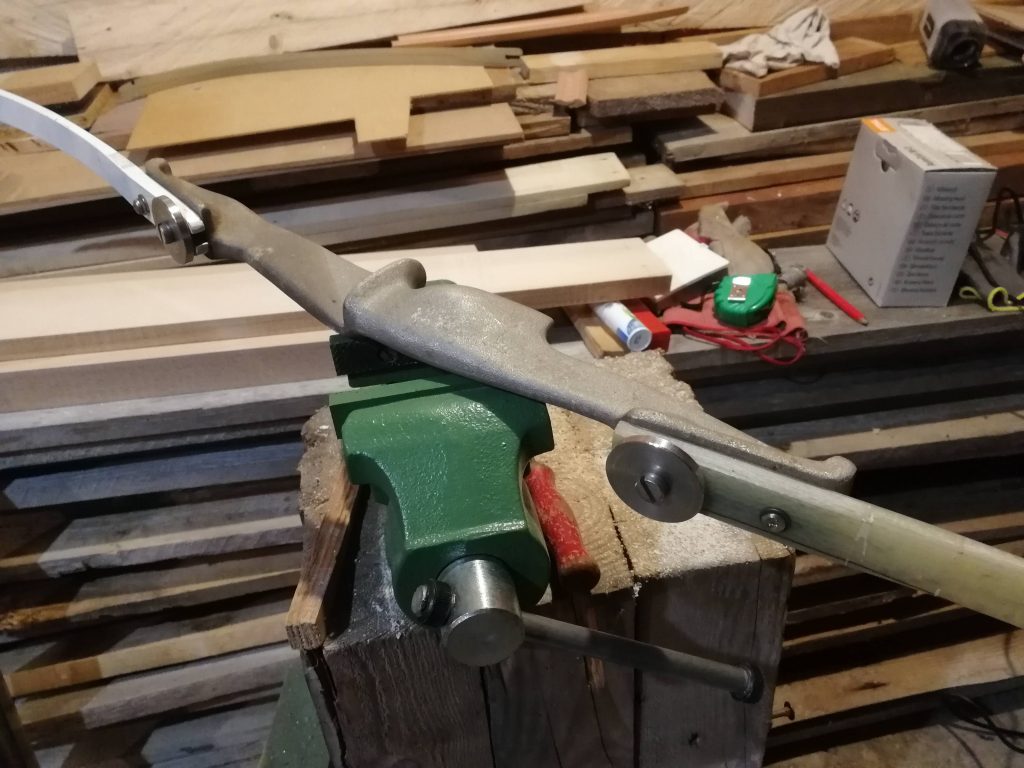
To avoid any possible damage or delamination, I’ve only sanded the belly of the bow – the side of the limbs that faces the shooter when holding up the bow as if shooting.

I mounted the larger bolts with some extra-thick oversized washers I had picked up who-knows-where (and they seems to be machined from stainless steel rather than the usual punched out ones – very cool). This gives it a nice look, in my opinion, and helps distribute the force very evenly to the bottom of the limb. I felt that just the small screw head might rip through the hole with the large amount of levered force on that small area.

The next step was to make the bow look a bit nicer, so I took some spray paint and painted the limbs black.

I think the riser looks good as it is, so I’ve left it in the matte silver of the cast aluminum.

Here is the finished bow put together:

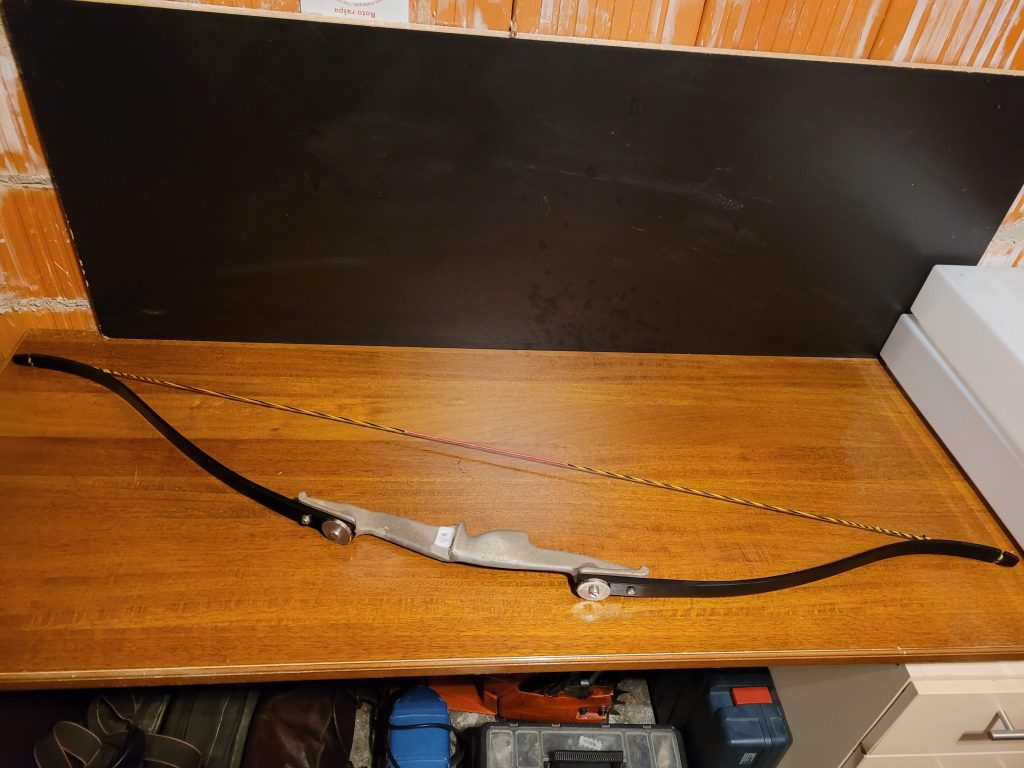
I’ve also added a stick-on arrow rest, because I don’t have any arrows with feather fletching, so I can’t shoot off the shelf.

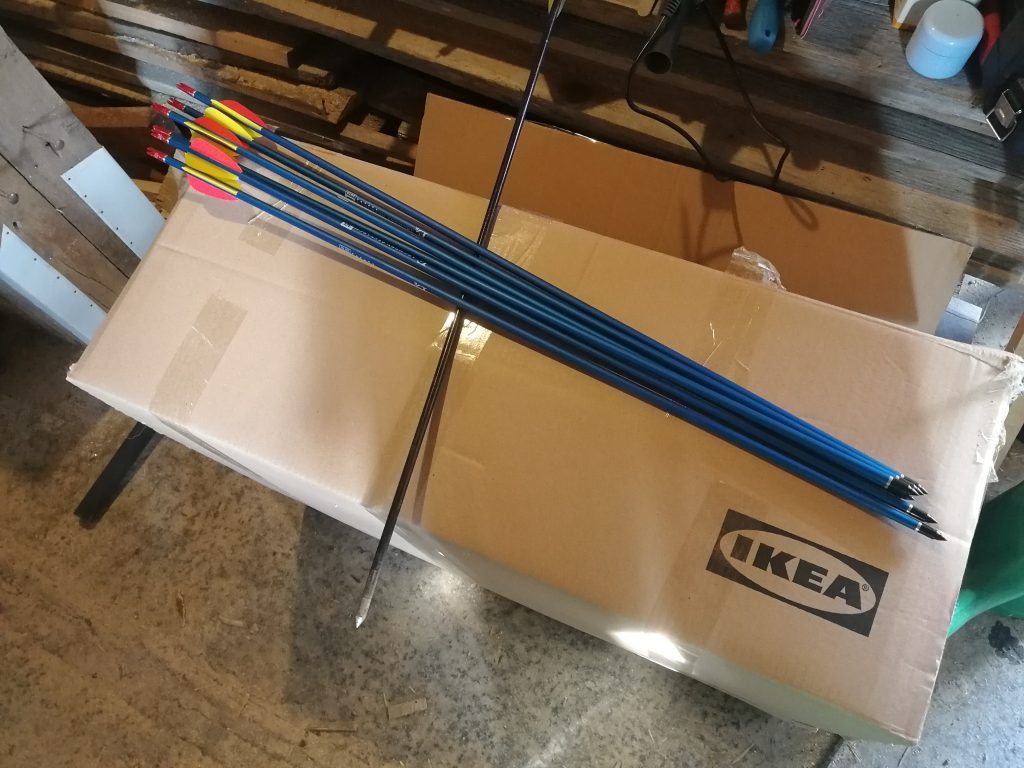
The bow pulls about 21kg or 46lbs at 30” (which is my draw lenght) and I’ve bought 6 fairly cheap 30” aluminum arrows to try out, and I also have a mismatched wooden one that I got with the bow parts:

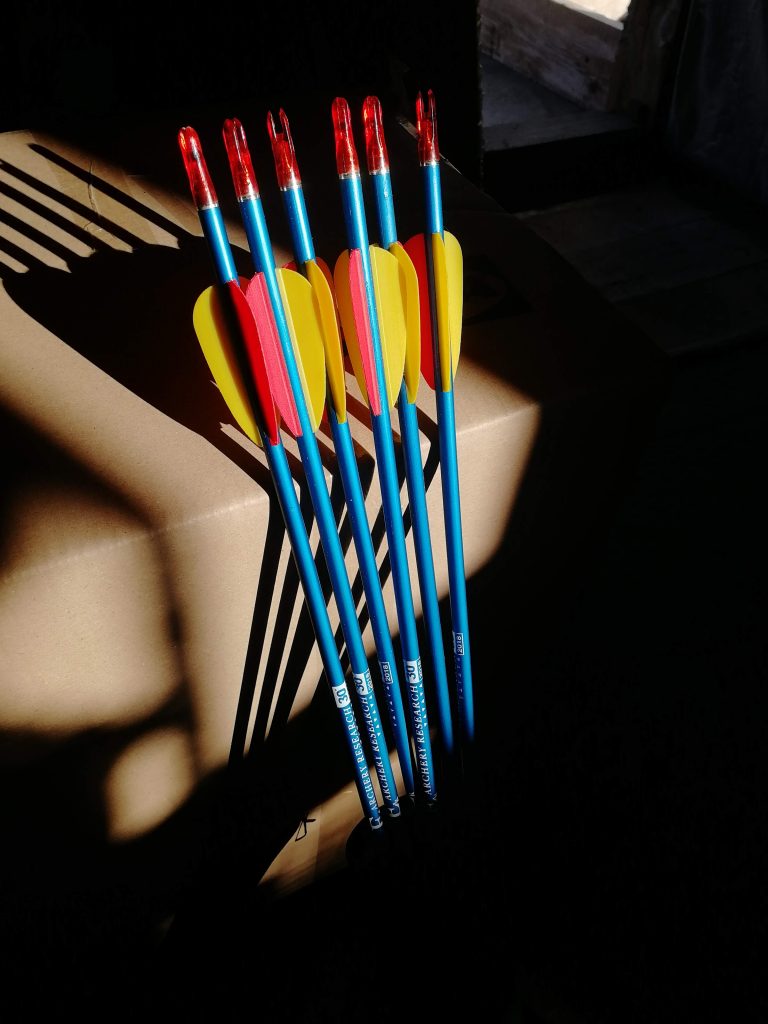
Here are all the arrows and a target made from a cardboard box and a bunch more cardboard stuffed inside:

And here is my first group with the bow (and first ever group with any bow actually – first time shooting!) at 15 meters, or about 50 feet:

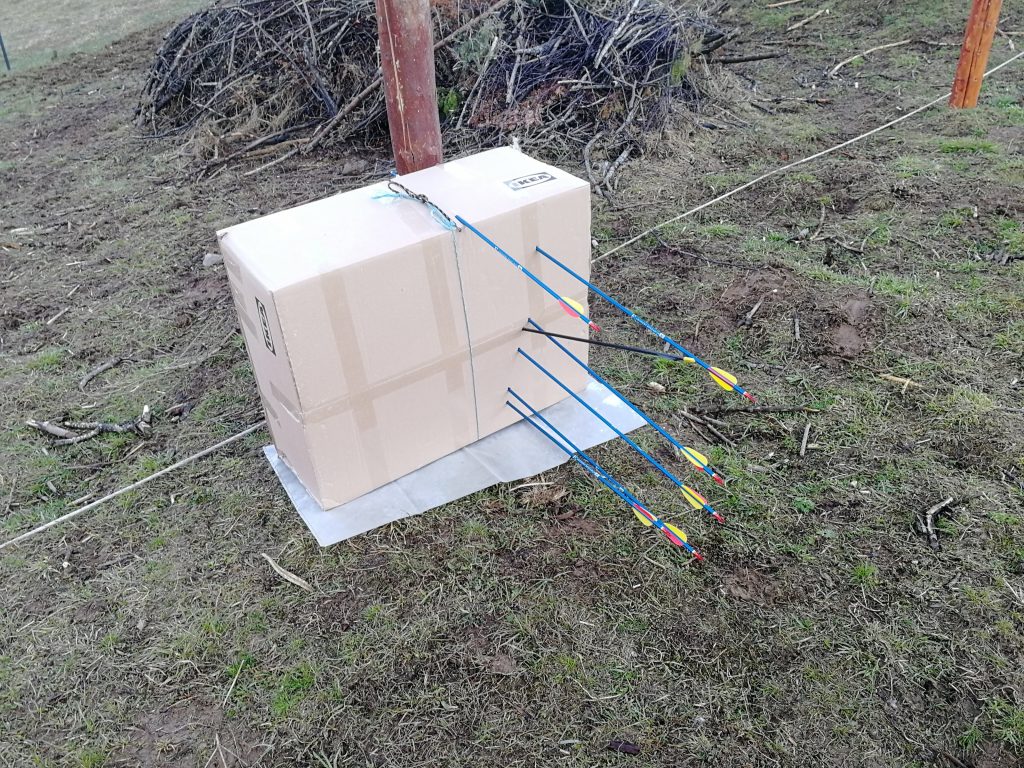
The bow is actually a bit too strong for me, I strain somewhat to keep it at full draw. But all in all, I’m super happy with that!

Hopefully, I will get better with some time and practice.

I hope you enjoyed reading, see you for the next one.

Splitting logs into staves

As I’ve said before, to start working, I need to get my hands on some bow materials, or bow wood specifically in this instance since I’m planning on making a selfbow.

For that purpose, I have a few ash logs lying by my shed, waiting to be split into bow staves.

As you might imagine, it’s not a very complicated process. Still, you do need a bit of tools. Nothing special, but you won’t get far without a few wedges (I prefer forged iron, though you can get other/fancier materials like different polymers or what not), and a good, heavy sledgehammer. An axe also comes in handy for cutting any wood fiber that remains across your split.

When looking to make bow staves, I believe the best way to go is to follow any natural checking that the wood might already have.

If the log has been sitting and drying for longer then a week or so, it will certainly develop some cracks. If there are several, I try to split along the ones that look most promising and will give me a nice, straight stave without knots and twists.

I have this log that I’ve already split in half sooner, and there’s another crack forming in the right spot to miss a big knot to the left so I decided to run with it.

The first step here is to drive a wedge into the face of the log straight through that crack we’ve chosen.

That will start splitting the log and a lenghtwise crack will also appear. I give it a few more taps to widen that crack and insert another wedge into the log from the top.

Driving the new one in will continue splitting the log and allow me to pull out the first one. Or, in this case, it just fell to the ground on it’s own.

Then I take the first wedge, move it down the log and continue doing that till the log is split.

And that’s it, easy-peasy!

Now, you’ll notice that I’m left with kind of a bad result here. The straight piece I wanted, the one that doesn’t have a knot, tapers off to a point, and the other one is nice and (kinda) uniform in width. This happened because the grain pulled to the right. But there’s not much we can do about that and also keep with the natural path of the wood fibers.

The solution here will be to work with the length of log I have. It’s about two and a half meters long (a bit over 8 feet for my American friends), so I can take of a good half meter off and still have enough usable material. That will allow me to cut off the knot on the bottom end of the thicker stave and also the tip off the other one to leave me with two usable pieces.

So my advice here is to always cut your logs longer, if you have the option to. You never know for sure how the wood will look inside or how it will behave while splitting.

In the end, about an hour and a half and a few cuts later, I had 5 nice staves that I’ll bring inside to dry out. Some of these could probably be split further in half, but I decided against it. Didn’t want to ruin the whole stave by accident.

I still have a couple of smaller logs to go through, so that will give me plenty of material to practice.

Anyhow, that’s all for this post so thanks for reading, and catch you next time!